ch32,33 의존성 주입 두 번째 예시
ch 32
step3의 process를 다 함
<HelloSpringApp.java>를 보자
```java
// load the spring configuration file
ClassPathXmlApplicationContext context =
new ClassPathXmlApplicationContext("applicationContext.xml");
// retrieve bean from spring container
Coach theCoach = context.getBean("myCoach", Coach.class);
```
mycoach라는 애는 dependencies를 가지고 있다.
dependency는 fortune service를 의미한다.
도식도를 보자면 이러하다.

Coach bean에다가 FortuneService라는 의존성을 주입한다.
기억하자면, 스프링 공장은 적절한 bean에다가 의존성을 create하고 해당 의존성으로 object가 조립될 수 있게끔 한다.
자동차가 자동차 공장에서 샤시, 기어, 배터리, 바퀴 등 여러 부품들이 assemble 되는 것처럼 의존성 주입을 생각하면 된다.
그러고 bean의 methods를 부른다.
```java
// call methods on the bean
System.out.println(theCoach.getDailyWorkout());
```
또한 fortune의 새로운 함수를 불러보자.
```java
//let's call our new method for fortunes
System.out.println(theCoach.getDailyFortune());
```
HelloSpringApp.java의 전체적인 코드
```java
package com.luv2code.springdemo;
import org.springframework.context.support.ClassPathXmlApplicationContext;
public class HelloSpringApp {
public static void main(String[] args) {
// load the spring configuration file
ClassPathXmlApplicationContext context =
new ClassPathXmlApplicationContext("applicationContext.xml");
// retrieve bean from spring container
Coach theCoach = context.getBean("myCoach", Coach.class);
// call methods on the bean
System.out.println(theCoach.getDailyWorkout());
//let's call our new method for fortunes
System.out.println(theCoach.getDailyFortune());
// close the context
context.close();
}
}
```
실행 결과는

의존성 주입을 통해서 코드 실행을 완
(전체적인 코드는 다른 게시물에 업로드 예정)
TrackCoach에게도 똑같은 방식으로 의존성 주입하기
다음과 같이 generate source using constructor를 이용

결과 이클립스가 constructor를 생성해줬다.
```java
public TrackCoach(FortuneService fortuneService) {
this.fortuneService = fortuneService;
}
```
코드
TrackCoach.java
```java
package com.luv2code.springdemo;
public class TrackCoach implements Coach {
private FortuneService fortuneService;
public TrackCoach(FortuneService fortuneService) {
this.fortuneService = fortuneService;
}
@Override
public String getDailyWorkout() {
return "Run a hard 5k";
}
@Override
public String getDailyFortune() {
// TODO Auto-generated method stub
return "Just Do It: "+ fortuneService.getFortune();
}
}
```
그러고 실행 대상이 변했으니 config 파일에서 다음과 같이 바꿔준다.
<application.xml>
```java
<bean id="myCoach"
class="com.luv2code.springdemo.TrackCoach">
```
TrackCoach에 fortune이라는 의존성을 주입하니 old constructor form은 주석 처리를 해준다.
MyApp,java에서
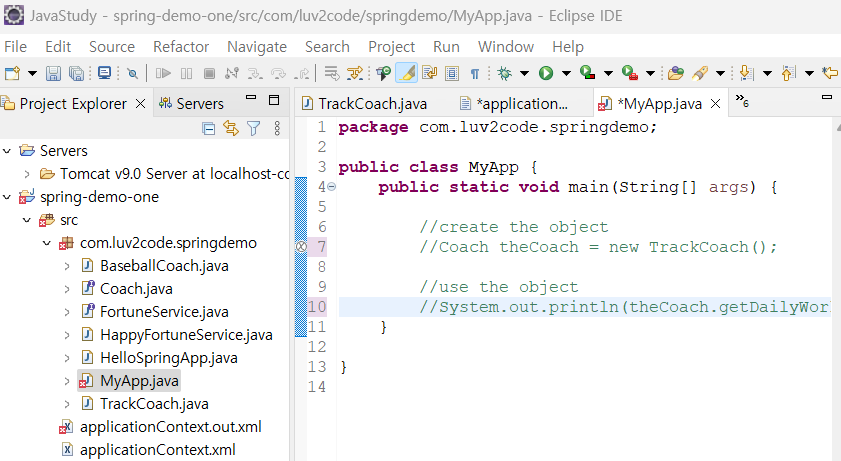
MyApp.java의 main 함수에 있는 코드들을 주석 처리하지 않고 하는 방법은?
TrackCoach에다가 default constructor인 public TrackCoach()를 추가해주고 빈 내용으로 설정한다.

그러고 MyApp.java의 주석을 해제한다.
결과는

default constructor를 해주는 이유는
FAQ: What is the purpose for the no arg constructor?
Question:
I was wondering why you created a no arg constructor? I thought that they are implied by Java and only required when you also have an overloaded constructor. Or is this a Spring specific thing?
---
Answered by: Oleksandr Palamarchuk
When you don’t define any constructor in your class, compiler defines default one for you, however when you declare any constructor (in your example you have already defined a parameterized constructor), compiler doesn’t do it for you.
Since you have defined a constructor in class code, compiler didn’t create default one. While creating object you are invoking default one, which doesn’t exist in class code. Then the code gives an compilation error.
다음 게시물에서는 이걸 토대로 의존성 주입 메커니즘을 분석할 것이다.
+책 참고